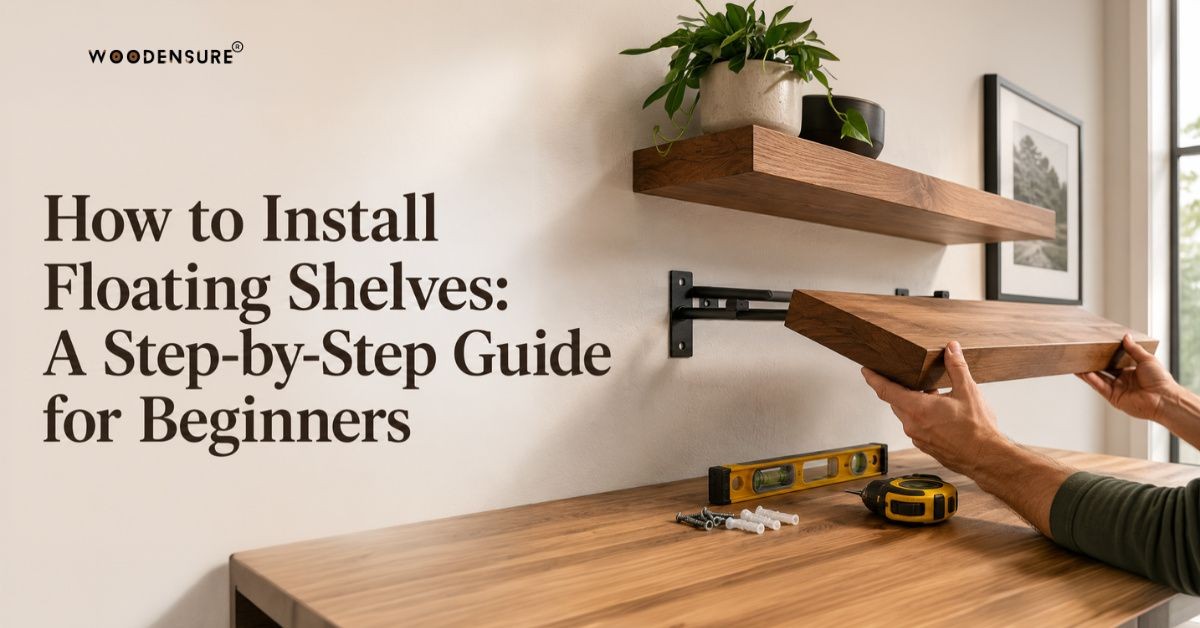

How to Install Floating Shelves: A Step-by-Step Guide for Beginners
Installing a floating shelf involves choosing the correct location, identifying the wall type and studs, marking the bracket position, drilling suitable fixing holes, securing the hidden bracket and sliding the shelf onto the bracket. The exact fixing method depends on whether the wall is concrete, brick, drywall or wood. Accurate levelling and the correct wall anchors are especially important because floating shelves hide their support system inside the shelf.
Last Updated: 13 August 2026
Floating Shelf Installation at a Glance
The basic process is:
- Choose the shelf position.
- Identify the wall type.
- Locate studs or suitable fixing points.
- Position and level the hidden bracket.
- Mark the drilling points.
- Drill the holes.
- Insert suitable plugs or anchors.
- Secure the bracket.
- Slide the shelf onto the support.
- Check the level and stability.
Before adding heavy objects, confirm that the wall, bracket, anchors, and screws are suitable for the intended load.
How Do Floating Shelves Work?

A floating shelf hides its support system after installation. Most designs use a concealed metal bracket or mounting plate with support rods that fit inside pre-drilled holes in the shelf.
The basic structure is:
Wall → screws/anchors → hidden bracket → shelf
Once the bracket is fixed, the shelf slides over the rods. Some systems include locking screws underneath. Because the supports are hidden, a loose or unlevel bracket can make the shelf tilt, move, or sag.
What Do You Need to Install Floating Shelves?

You will usually need:
| Tool or Material | Purpose |
|---|---|
| Measuring tape | Measure position and spacing |
| Pencil | Mark fixing points |
| Spirit level | Keep the shelf straight |
| Drill | Create mounting holes |
| Correct drill bit | Suit the wall material |
| Screwdriver | Tighten screws |
| Stud finder | Locate studs where applicable |
| Wall plugs/anchors | Create secure fixing points |
| Screws | Secure the bracket |
| Floating shelf bracket | Support the shelf invisibly |
Do not assume one type of anchor works on every wall. Match the fixing hardware to the wall construction and shelf system.
What Type of Wall Are You Installing the Floating Shelf On?

Identifying the wall type before drilling is essential.
Concrete Wall
Concrete can provide a strong fixing surface when suitable masonry hardware is used. Use a masonry drill bit, compatible plugs or anchors, and appropriate screws. Clean loose dust from drilled holes before inserting the fixings.
Brick Wall
Brick can support floating shelves when the wall is sound. Avoid loose or damaged areas and use suitable masonry fixings. If the brickwork condition is uncertain, consider professional advice.
Drywall or Gypsum Board
Drywall needs additional care because the board alone may not support a heavy shelf. Where possible, fix into wall studs. If that is not possible, use anchors designed and rated for the wall type and expected load.
Wooden Wall or Timber Stud
A solid timber surface or stud can provide a strong fixing point. Use wood screws appropriate for the bracket and wall structure.
How to Install Floating Shelves Step by Step
Step 1: Choose the Right Position
Choose a useful, visually balanced position. Consider nearby furniture, doors, windows, switches, and the objects you plan to place on the shelf.
Before drilling, check for electrical cables, pipes, or other hidden services. If uncertain, use a suitable detection tool or consult a professional.
Step 2: Measure and Mark the Shelf Position

Measure the desired height and position and make light pencil marks. Hold the bracket against the wall, check its position, and use a spirit level before marking the screw holes.
Measure twice before drilling; small errors can become obvious once the shelf is installed.
Step 3: Locate Studs or Suitable Fixing Points
For framed walls, use a stud finder where applicable. Fixing into a suitable stud can provide strong support, particularly for shelves that will carry heavier objects.
If bracket holes do not align with studs, follow the mounting instructions and use appropriate fixings. For masonry, choose sound fixing areas.
Step 4: Position and Level the Bracket
Place the hidden bracket against the wall and adjust it with a spirit level until horizontal. Mark each fixing hole, then check the level once more before drilling.
Correct bracket alignment is important because the final position of the shelf depends on it.
Step 5: Drill the Mounting Holes

Choose a drill bit suited to the wall and fixing system. Drill straight at the marked points and only as deep and wide as required. For masonry, remove loose dust before inserting plugs or anchors.
Never drill blindly where wiring, plumbing, or other services may be present.
Step 6: Install the Anchors and Secure the Bracket

Insert the required plugs or anchors, align the bracket, and install the screws. Tighten them evenly, recheck the level, and gently test the mounting plate.
It should sit firmly against the wall without obvious movement.
Step 7: Slide the Shelf onto the Bracket
Align the internal shelf holes with the support rods and slide the shelf toward the wall evenly. If it does not align, do not force it; recheck the bracket and holes before trying again.
The shelf should slide over the supports and sit close to the wall.
Step 8: Secure the Shelf
If the system includes locking or set screws, install them according to the manufacturer’s instructions.
The shelf should sit close to the wall without excessive movement.
Step 9: Check the Level and Stability
Check the finished shelf with a spirit level and test gently for movement.
Add objects gradually and stay within the load guidance supplied for the shelf and mounting system.
Floating Shelf Installation by Wall Type
Different wall materials require different fixing approaches.
| Wall Type | Typical Fixing Approach | Main Consideration |
|---|---|---|
| Concrete | Masonry plug or anchor | Correct drill bit and fixing depth |
| Brick | Suitable masonry fixing | Condition of the fixing area |
| Drywall | Stud or rated hollow-wall anchor | Load capacity |
| Solid wood | Screw into solid timber | Screw length and positioning |
These are general guidelines. The correct fixing always depends on the specific wall, bracket, and shelf.
How Much Weight Can a Floating Shelf Hold?
There is no universal weight limit for solid wood floating shelves. Capacity depends on wall construction, shelf dimensions, bracket design, support rods, anchors, screws, fixing positions, shelf material, and installation quality.
Rather than relying on a generic number online, follow the load and installation guidance supplied with the shelf or bracket.
For heavy objects, confirm that both the wall and mounting system are suitable. A floating shelf that is mainly intended for small decorative objects may require a different support system from one intended for books, kitchenware, or heavier items.
7 Common Mistakes to Avoid When Installing Floating Shelves

1. Not Identifying the Wall Type
Using the wrong fixing system can result in a weak installation. Determine whether you are working with drywall, brick, concrete, or timber before selecting hardware.
2. Using Unsuitable Anchors
Select anchors based on the wall construction and expected load rather than simply using whatever fixings are already available.
3. Skipping the Spirit Level
A small bracket error can make the finished shelf visibly crooked. Always level the bracket before drilling and check it again after tightening the screws.
4. Drilling Before Checking Measurements
Confirm the height, spacing, fixing points, and level before drilling. This is particularly important when installing several floating shelves in one arrangement.
5. Using Weak Fixing Areas
Avoid damaged masonry, unsupported wall areas, or locations where the material cannot provide a reliable fixing.
6. Overloading the Shelf
Even a correctly installed shelf has a practical load limit. Follow the shelf and mounting system's recommended capacity.
7. Failing to Secure the Bracket
The hidden bracket should be firm before the shelf is attached. If the bracket moves, correct the fixing rather than relying on the shelf to hold everything together.
How Do You Prevent Floating Shelves from Sagging?
To reduce the risk of sagging:
- Use a bracket suitable for the shelf length and depth.
- Secure it into appropriate fixing points.
- Use the correct anchors and screws.
- Install all required support points.
- Follow the recommended load capacity.
- Avoid concentrating excessive weight at the outer edge.
- Periodically check the fixings for movement.
Long or deep solid wood shelves may require stronger or additional support compared with small decorative shelves.
If you notice a shelf beginning to lean or sag, remove heavy objects and inspect the bracket and wall fixings before continuing to use it.
Also read: 12+ Wall Shelf Design Ideas for Living Rooms & Bedrooms in 2026
When Is Professional Installation Recommended?
Consider professional installation if you cannot identify the wall construction, are unsure about hidden wiring or plumbing, are installing a particularly long or heavy shelf, or need several shelves aligned precisely.
Professional help can also be useful for commercial interiors and installations where safety and long-term stability are especially important.
If there is any doubt about whether the wall can safely support the shelf and its intended contents, professional assessment is preferable to guessing.
Choose a floating shelf that matches your space.

Choose a shelf that suits the room and intended use. Consider length, depth, thickness, material, edge style, finish, expected load, and mounting system.
Solid wood offers natural grain and a substantial look, while live-edge shelves feel more organic. Straight-edge shelves suit cleaner contemporary interiors.
If standard sizes do not fit, custom sizing can provide a more precise result.
Before buying, check that suitable mounting hardware and installation guidance are available. It is also worth considering what you plan to display before choosing the shelf depth and dimensions.
Conclusion
Installing floating shelves successfully comes down to accurate measuring, the correct wall fixings, a level bracket, and a final stability check. Identify the wall type before drilling and never assume the same anchor is suitable for every surface.
For beginners, spending extra time on measurement and bracket installation usually leads to a cleaner, safer result. If you are mounting a large solid wood shelf or are uncertain about the wall structure, professional installation may be the better choice.
Once correctly installed, floating shelves provide useful storage while keeping the wall clean, simple, and visually uncluttered.
If you are still deciding what works best for an empty wall, read our guide comparing wall art vs floating shelves for storage, décor and visual impact.
Author Bio:
The Woodensure team specializes in solid wood furniture, custom furniture, and handcrafted wooden products. With practical experience in furniture design, materials, and manufacturing, the team shares useful guidance to help homeowners, architects, and interior designers make better furniture decisions.